
The Conventional Deadlift: A Complete Technical Guide
The conventional deadlift is the rawest test of strength in all of sports. It's a primal, powerful movement that builds a brutally strong back, powerful hips, and a vice-like grip. While the setup appears simple, mastering the conventional pull requires a deep understanding of leverage, tension, and technique. This guide will provide a complete technical breakdown of the conventional deadlift, from setup to lockout.

The Setup: Where the Lift is Won
A successful conventional deadlift is built on a perfect, repeatable setup. Do not rush this process.
1. Stance and Foot Position
- Stance Width: Your feet should be positioned relatively narrow, typically between hip and shoulder-width apart. A good cue is to stand in a position from which you could perform a powerful vertical jump.
- Foot Placement: Stand with the bar directly over the middle of your feet. If you look straight down, the bar should bisect your feet. This is the most critical landmark for balance.
- Foot Angle: Your toes can be pointed straight ahead or slightly outward, whichever allows for a more comfortable and powerful setup.
2. The Grip
- Hand Placement: Your hands should grip the bar just outside of your shins. A grip that is too wide will increase the range of motion.
- Grip Style: The mixed grip or hook grip are essential for holding onto maximal weights.
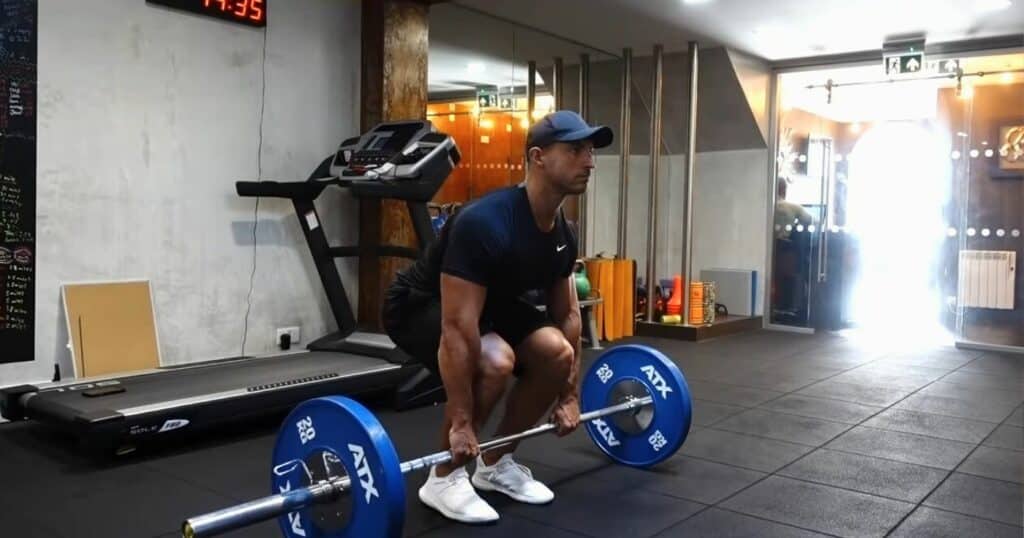
3. Creating Tension: The Key to a Safe Pull
This is the most important part of the setup.
- Hinge, Don't Squat: Bend at the hips and knees to grip the bar, keeping your hips high. Your hips should be higher than your knees but lower than your shoulders. A common error is squatting the weight down, which puts you in an inefficient position.
- Set Your Back: Actively pull your chest up and your shoulder blades down and back. Your entire back, from your traps to your lumbar spine, should be rigid and neutral.
- Engage Your Lats: Use your lats to "pull" the bar back into your shins. The cue is to "close your armpits." This keeps the bar close to your center of gravity.
- "Pull the Slack Out": Pull up on the bar just enough to feel the full weight and hear the "click." This creates full-body tension before you initiate the pull.
This entire setup process is detailed extensively by world-class coaches like those at Stronger By Science, who emphasize patience and tension.
The Pull: From Floor to Lockout
- The Leg Press: The initial movement off the floor should be driven by your legs. Think "push the floor away." Your back angle should remain the same as your hips and shoulders rise together.
- Keep the Bar Close: The bar should drag up your shins and thighs. Any space between you and the bar is an energy leak that puts stress on your lower back. This is where lat tension is crucial.
- The Lockout: Once the bar passes your knees, the lockout is an aggressive hip extension. Drive your hips forward to meet the bar and squeeze your glutes as hard as possible. At the top, you should be standing tall with your shoulders back and your hips and knees fully locked.
Common Conventional Deadlift Mistakes
- Rounding the Back: The most dangerous error. Caused by a lack of tension in the setup or lifting a weight that is too heavy.
- Hips Shooting Up First: A sign that you are pulling with your back instead of pushing with your legs.
- Jerking the Bar: Trying to use momentum instead of tension. Always "pull the slack out" first.
The conventional deadlift is a pure expression of strength. It rewards technical mastery and patience. By building a consistent setup, creating maximal tension before you pull, and using your legs to drive the weight off the floor, you will build a powerful, efficient, and safe deadlift.


